What this blog is about??
I have tried multiple times in past to completely move to Neovim, but everytime due to learning curve (or my skill issue), the idea never got fulfilled successfully.
Now since last month, I have been switching between LunarVim and Zed, sometimes playing with Cursor in between. I could have just keep on continuing using the above editors/IDE, but I wanted the following things in my developer journey:
- Fully customization editor, I should know what and why of editor
- I don’t want any IDE or huge chunky editor with lots of extensions taking minutes to load
- I do want AI support, but I want them as an extension of my editor, not an editor/IDE solely built for AI usecase.
- And most of all, I want to brag in front of others whenever I code.
Hence I finally decided to build my own Neovim configuration, each and every keybinding will be set by me and at last add an AI plugin on top of it.
This is Part 1 of the series and this part will cover all the basics neovim motions and intro to Lua language.
Why Neovim, and not Vim?
- I did my own research on which one to use and decided to use neovim because:
- better lsp integration
- uses lua scripting for configuration (Vim uses Vimscript which is another hell of a learning curve)
- Better plugin system
- I found neovim community more active
Installation
- Let’s quickly install neovim on our system. Below commands are for MacOS, you can find your commands from here
curl -LO https://github.com/neovim/neovim/releases/download/nightly/nvim-macos-arm64.tar.gz
tar xzf nvim-macos-arm64.tar.gz
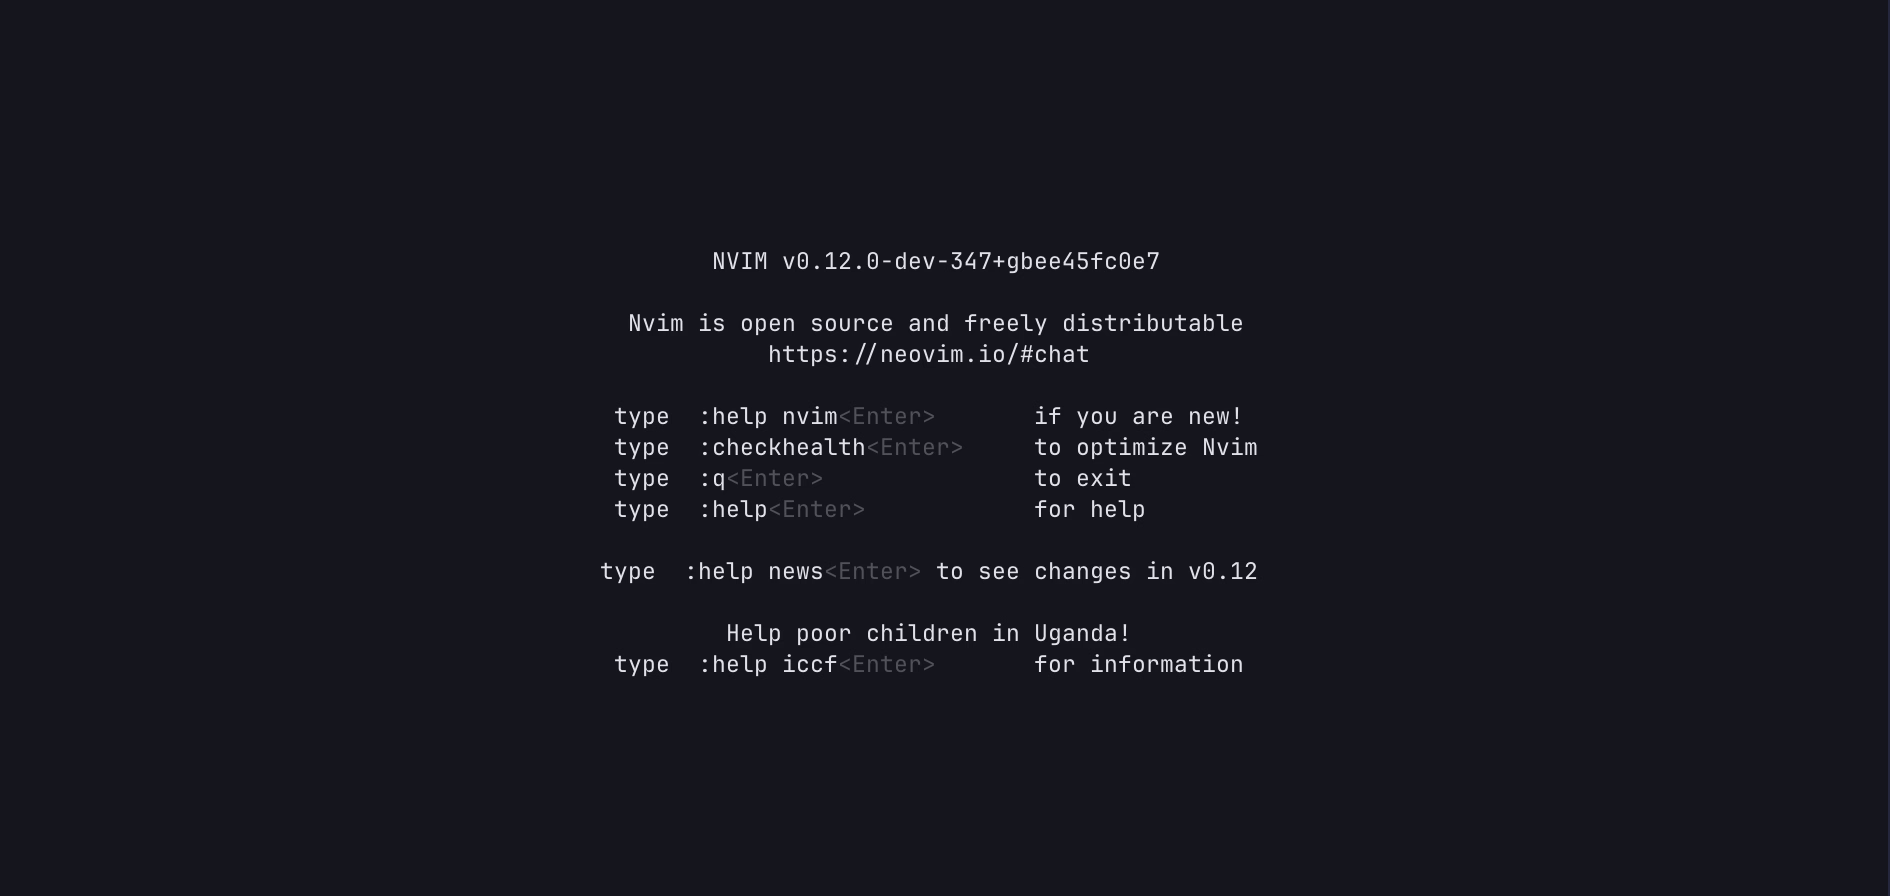
./nvim-macos-arm64/bin/nvimRunning the above commands will display this beautiful screen which we will make more beautiful in coming blogs!!
(Neo)Vim Motions
Vim/Neovim Motions are commands that allow us to move the cursor around the screen without any mouse or arrow keys. To use Neovim efficiently, one must know/master these keybindings.
I am not covering each and every keybindings, I am just covering the ones which I will be referring more and more in future. Show please go through :Tutor on Neovim to learn about vim motions.
As Neovim is highly customizable, one can create their own custom keybindings as need arises.
Moving around the window
h- move leftj- move downk- move upl- move righti- insert after lineshift + i- insert before linea- append after lineA- append before linew- next wordb- back worde- end of next word$- end of line0- 0th point of line, very first location of line^- first character of linefs- find firstsit sees;- represents the last find command,- backwards to previous targetshift + f + s- find first s behind the target4ft- 4th occurrence of tgg- goes to the first character of the pageshift + g- goes to last lineshift + m- middle of the desktopzz- scroll the document to the center
Text Objects
diw- delete in worddip- delete in paragraphdaw- delete around wordda + Shift + w- remove everything between two spacesci(- change in bracketdi(- delete in bracketdi"- delete in "".- repeat the last operatorshift + v- highlight the visual line
Command mode
:- start a command
Macros
Macros lets you record a series of keystrokes (includes movements, matching, replacing, copy, paste, etc.). It helps to automate repetitive tasks, hence an important tool for Neovim productivity.
- Recording a macro
- Press
q+<register-name>, e.g.q+vto start recording. - Perform a sequence a character
- Press
qagain to stop the recording
- Playing the macro
- Use
@followed by<register-name>, e.g.@+vto replay the recorded macro - Use last used macro using
@@. - Repeat macro multiple times
100@v
- Viewing and editing macros
- Run
:regto view registers - To edit, paste the content into the buffer using
"vp, modify it, yank it into the same buffer"yp.
Misc
*- Matches everything under the cursorShift + n- move to previous matched character or wordn- move to next matched character or wordciw- change in word.- replay the last action
- e.g.
*->n->ciw->n->.- Above will first move to next matched character, do the change in word, and then whenever doing
.,ciwwill be applied
- Above will first move to next matched character, do the change in word, and then whenever doing
%s/<word1>/<word2>/g- replace word1 with word2 globally%s/<word1>/<word2>/gc- ask each time before replacing word1 with word2 globallyy- yanking means copying the contentviw- visual highlight in wordp- paste:reg- show all registers and their content"3p- paste the content in the third register"7p- yank content into 7th register- Special registers:
- system clipboard in mac -
* "*y- yank into system clipboard"*p- paste from system clipboard
- one could also reassign the registers
:let @+=@%- making + register as % register
==- fix indentationdw- delete wordu- undoyw- yank a worddd- deletes entire lineyy- yanks entire linep- paste after the cursorshift + p- paste before the cursorshift + r- replace mode, replace everything in this way%- matching counterpart of bracket:set rnu- set relative number/- search for wordshift + /or?- search for a word in previous orderctrl + v- mark vertically across linectrl + d- half a screen downctrl + u- half a screen upzb- moves the cursor by one pagectrl + e- moves the cursor up by one linectrl + y- moves the cursor down by one line
Intro to Lua
To write configs and scripts for Neovim, we will be using Lua language which is a scripting language easier than bash and faster than python. Most of the plugins that we will use are mostly written in Lua, and I am pretty sure you will write your first Neovim plugin in Lua too.
Commenting
-- single line comment

-- [[
multi line comment
]]
Variables
local x = 1
local a = "a"
local b = true
local c = nil
x = x + 1
print(x)

local name = "Barun"
print("I am".." ".. name)
Comparison
== equal
< less than
<= less than or equal to
> greater than
>= greater than or equal to
~= not equal
Conditionals
local age = 24
if age > 20 then
  print("over 20")
elseif age == 20 then
  print("20")
else
  print("below 20")
end
Combining statements
- use
and,orandnot
Functions
local function func1(a)
  print(a)
end

local func2 = function(a)
  print(a)
end

function sum(a, b)
  return a + b
end
Scope
function func()
  local x = 1
end

print(x) -- nil
Loops
local i = 1
while i<=3 do
  print(i)
  i = i + 1
end

for i = 1,3 do
  print(i)
end
Tables
- tables includes - arrays/lists and dicts (key, value)
local a = {"a1", "a2", "a3"}
print(a[1])

-- #a is the length of the table
for i = 1, #a do
  print(a[1])
end

-- ipairs
for index, value in ipairs(a) do
  print(a[index])
  print(value)
end

for _, value in ipairs(a) do
  print(value)
end
Dictionaries
local a = {
  name = "Barun"
  age = 24
  isAlive = true
}

print(a["name"])
print(a.age)

for key, value in pairs[a] do
  print(key .. " " .. tostring(value))
end

local b = {
  { "b1", 20 },
  { "b2", 22 }
}

for i = 1, #b do
  print(a[i][1] .. " is " .. a[i][2] .. " years old")
end

local c = {
  c1 = {age = 20},
  c2 = {age = 22}
}
Modules
require("path")

-- for example in ~/.config/nvim/lua , all dirs and files are accessable via require
-- Do note that all files in that lua folder are in path!
-- ~/.config/nvim/lua/abc.lua
-- ~/.config/nvim/lua/abc/init.lua

require "abc"
vim.tbl_deep_extend
- neovim function used for merging tables and their values recursively. Generally used by plugins for merging config tables.
-- table 1
local person = {
    name = "joe",
    age = 19,
    skills = {"python", "html"},
}

-- table 2
local someone = {
    name = "siduck",
    skills = {"js", "lua"},
}

-- "force" will overwrite equal values from the someone table over the person table
local result = vim.tbl_deep_extend("force", person, someone)

-- result :
{
    name = "siduck",
    age = 19,
    skills = {"js", "lua"},
}

-- The list tables wont merge cuz they dont have keys- check
:h vim.tbl_deep_extendfor more info
pcall
- Requiring a nonexistent module or a module which contains syntax errors aborts the currently executing script. pcall() may be used to prevent errors.
local ok, _ = pcall(require, 'module_with_error')
if not ok then
  -- not loaded
end
Vim namespace
- Neovim exposes a global
vimvariable which can be used to interact with its API via Lua. It exposes it as a standard library. - Some useful modules and functions:
vim.inspectvim.regexvim.apivim.uivim.loopvim.lspvim.treesitter
What’s next?
In next part of this series, we will finally start configuring our Neovim to give us IDE like feel.

I don’t know how many blogs will be there in this neovim series. But my goal is to build a most perfect IDE like editor from scratch.